


Next Day Delivery Available


How To Replace A Dyson DC14 DC07 Vacuum Cleaner Motor

Last Updated :
06 Sep 2024
This video is a step by step guide on how to replace the motor on a Dyson Vacuum cleaner.
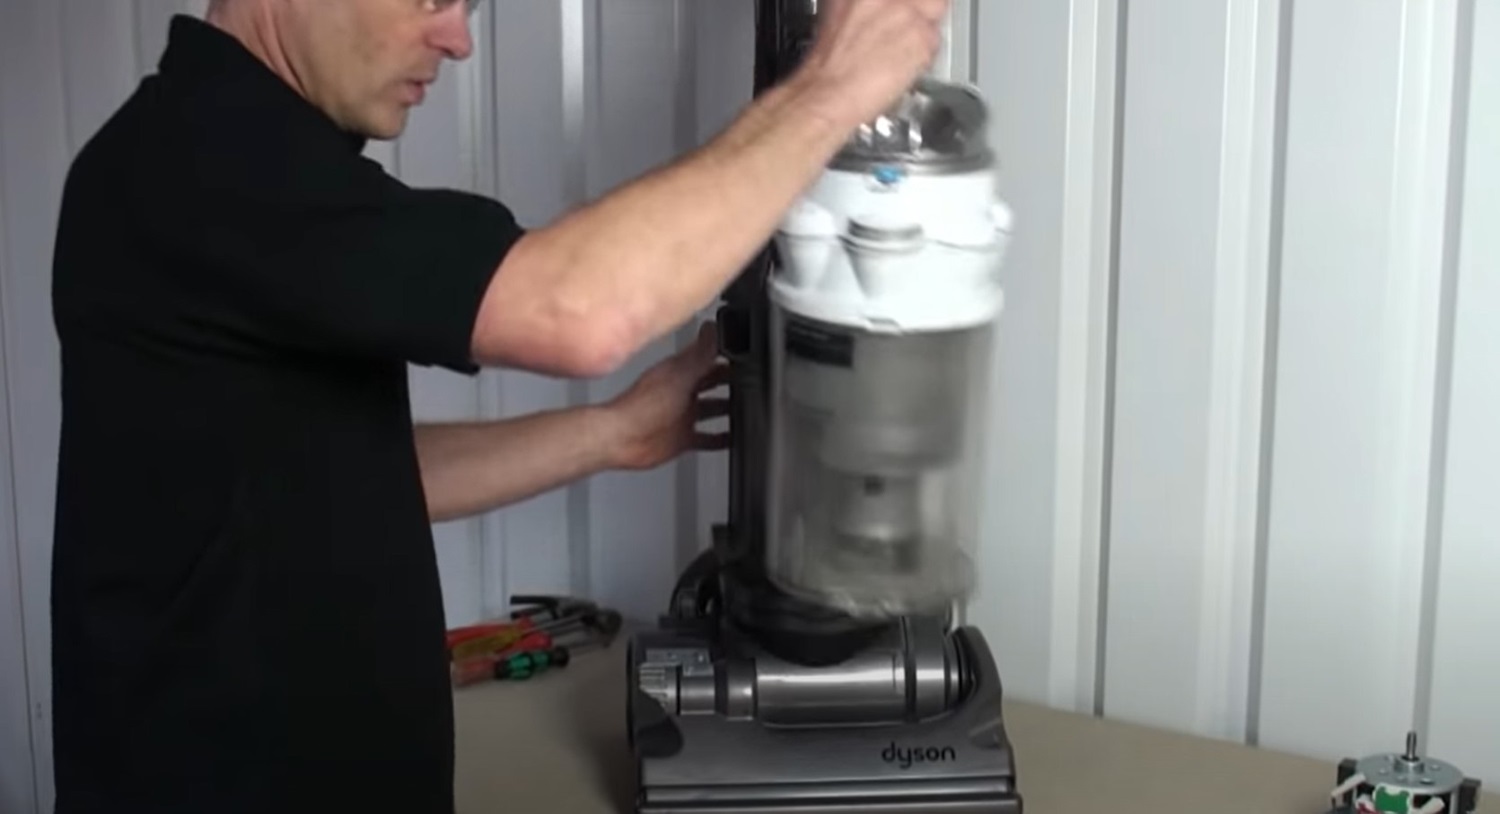
1. Remove the Bin
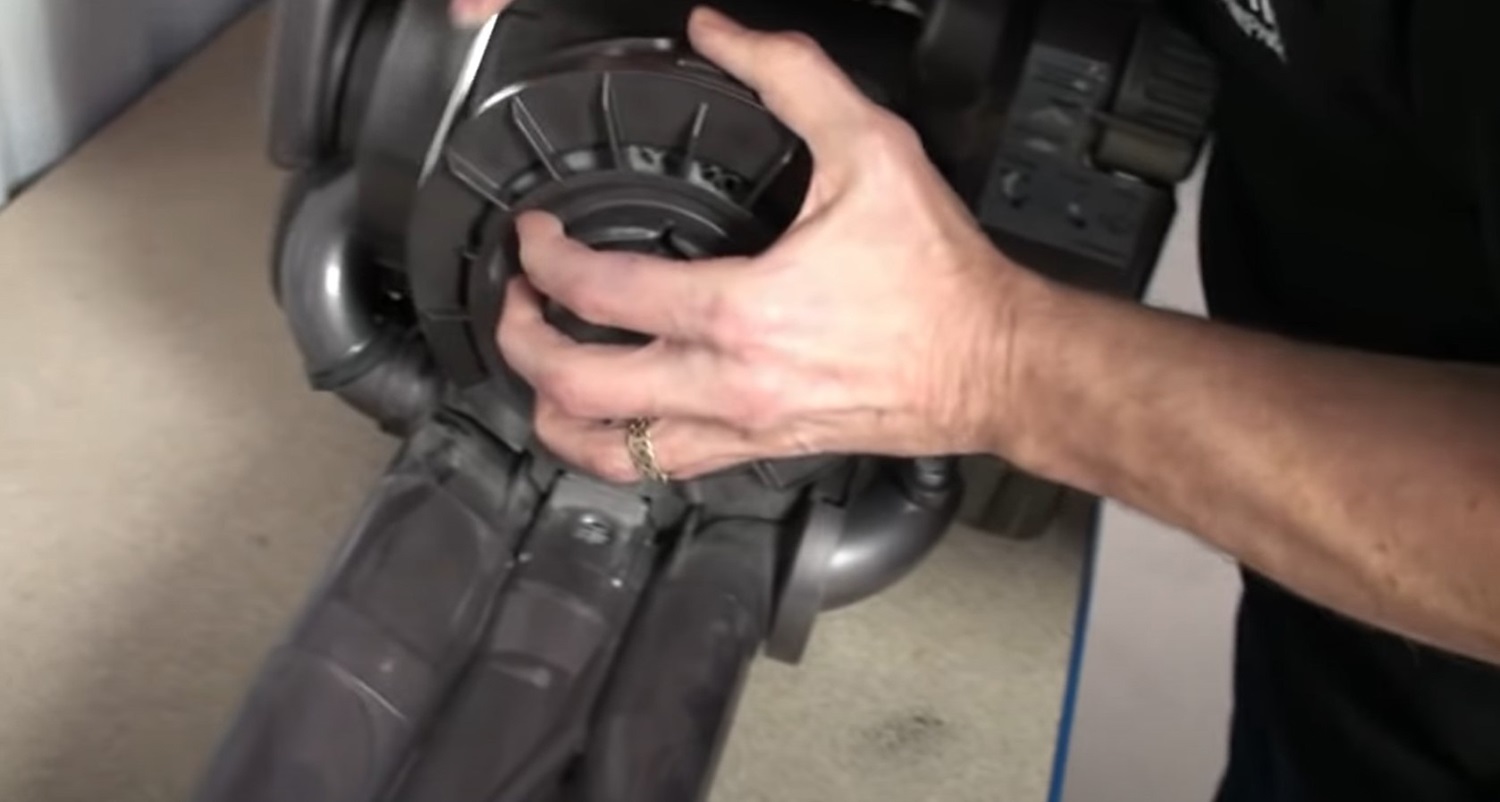
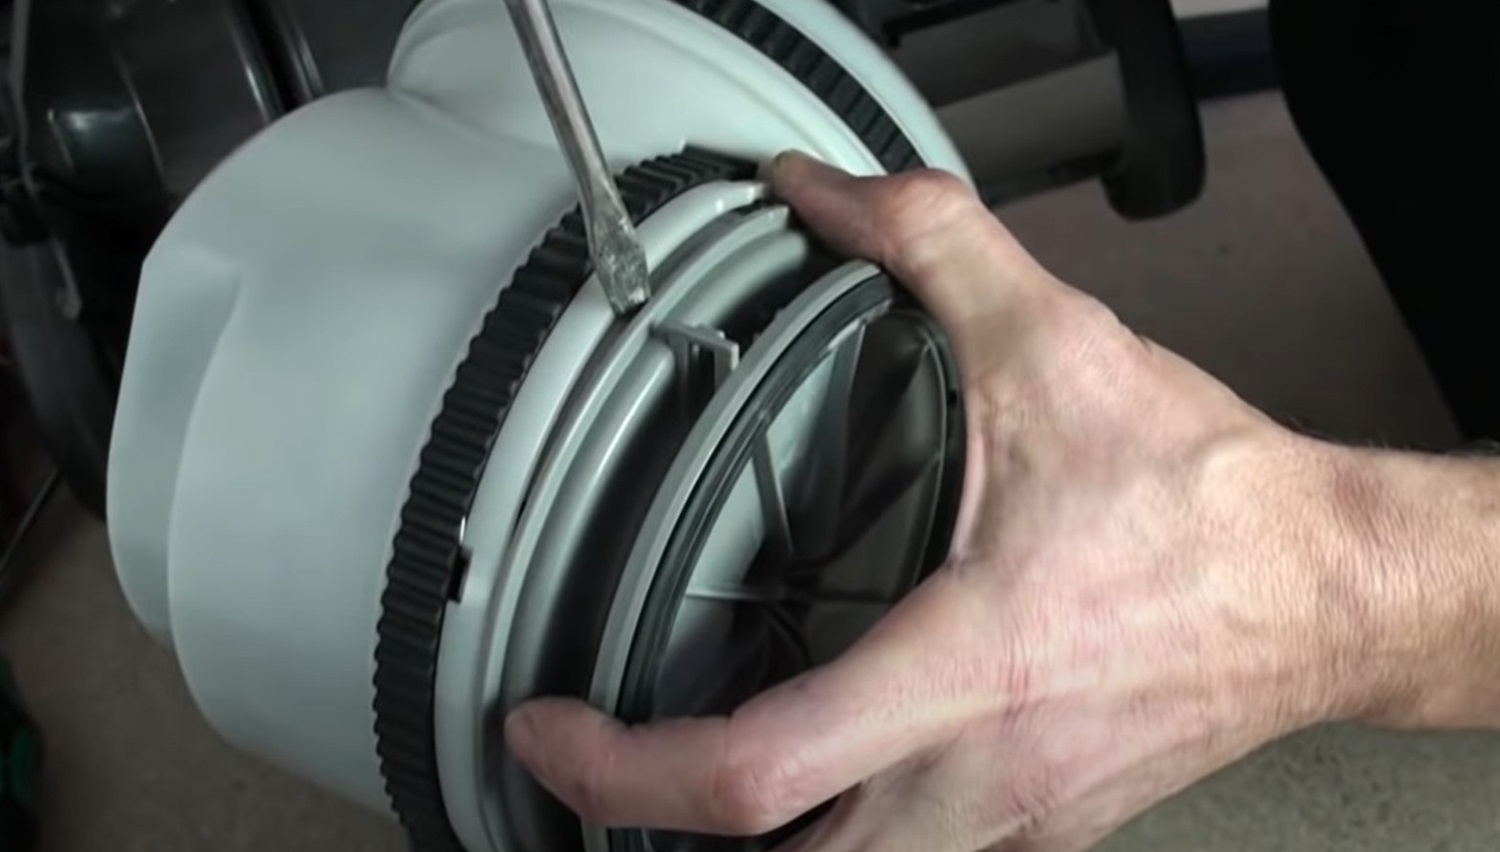
2. Remove the exhaust filter cover
using a flat head screwdriver prise off the exhaust filter cover
3. Remove the sole plate
Turn the vacuum cleaner upside down and the sole plate is released by turning the 3 retaining nuts.
4. Remove the brush roll
Remove the axel from the brush roll and then remove the other end piece so that the brushroll can be twisted away from the belt.
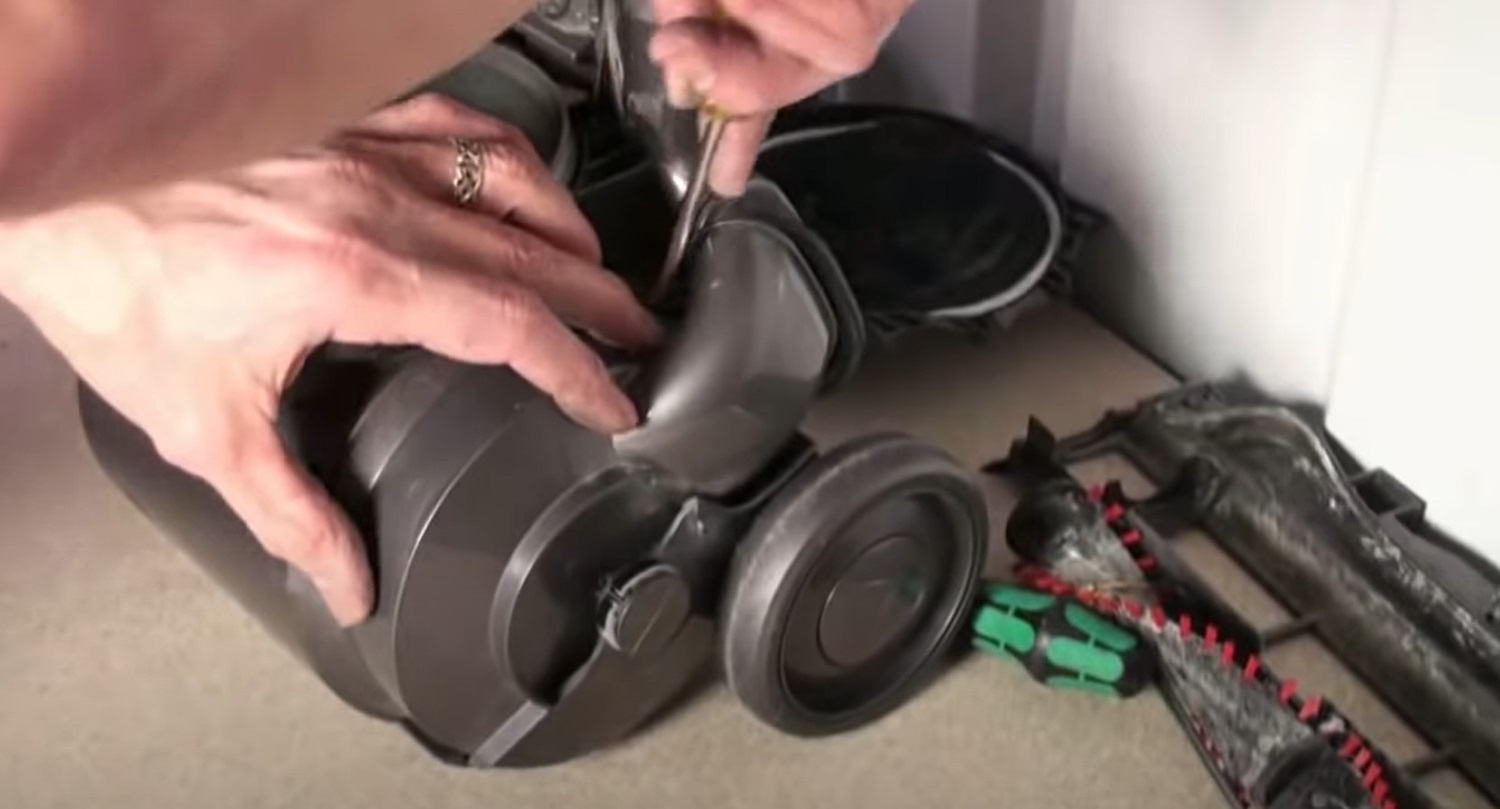
5. Remove the U bend
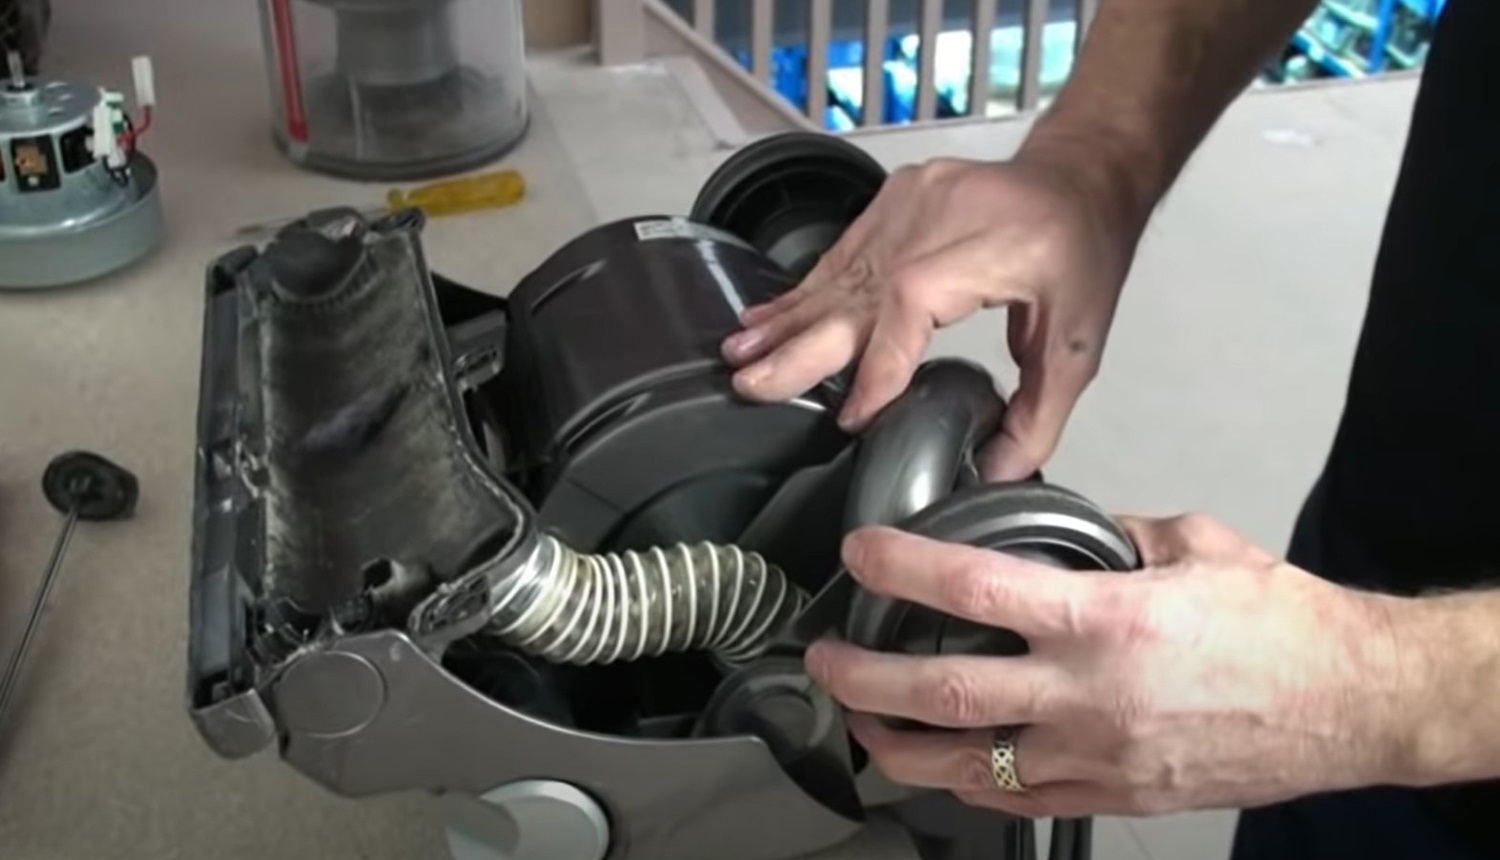
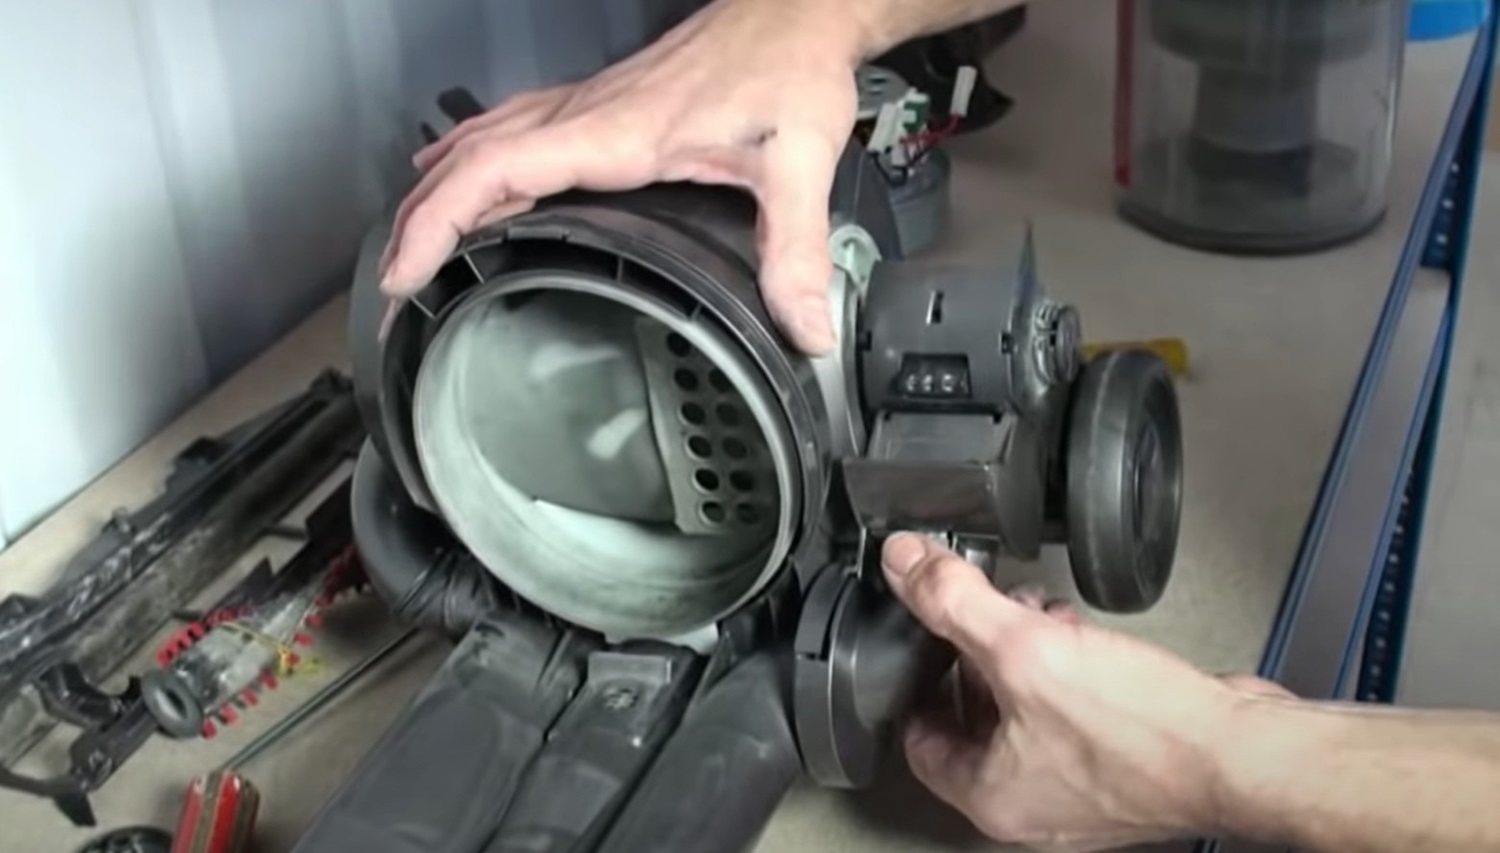
6. Remove the Brush Roll Housing Assembly
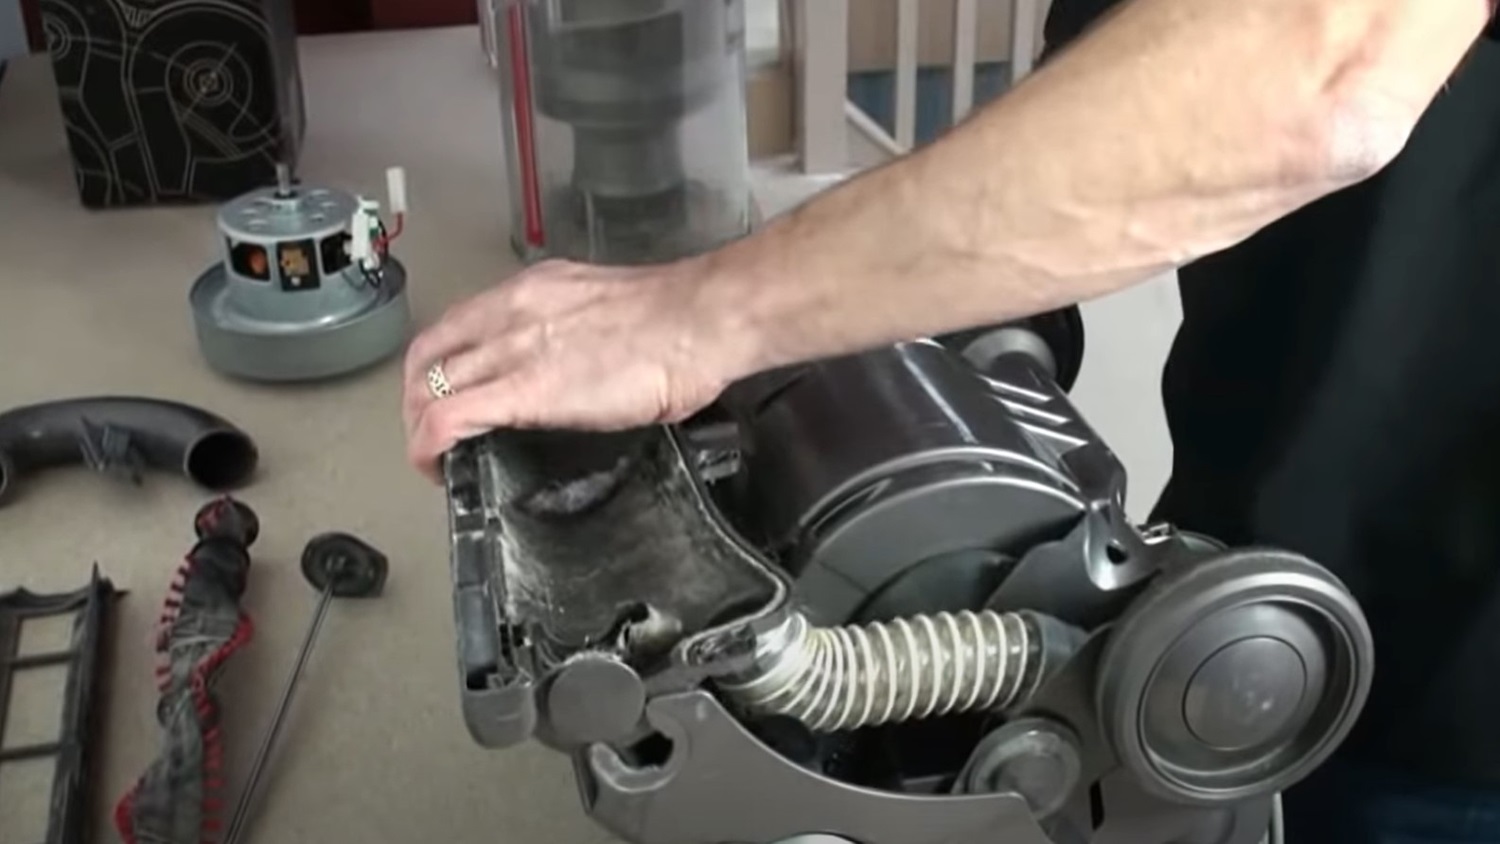
7. Remove the clutch cover
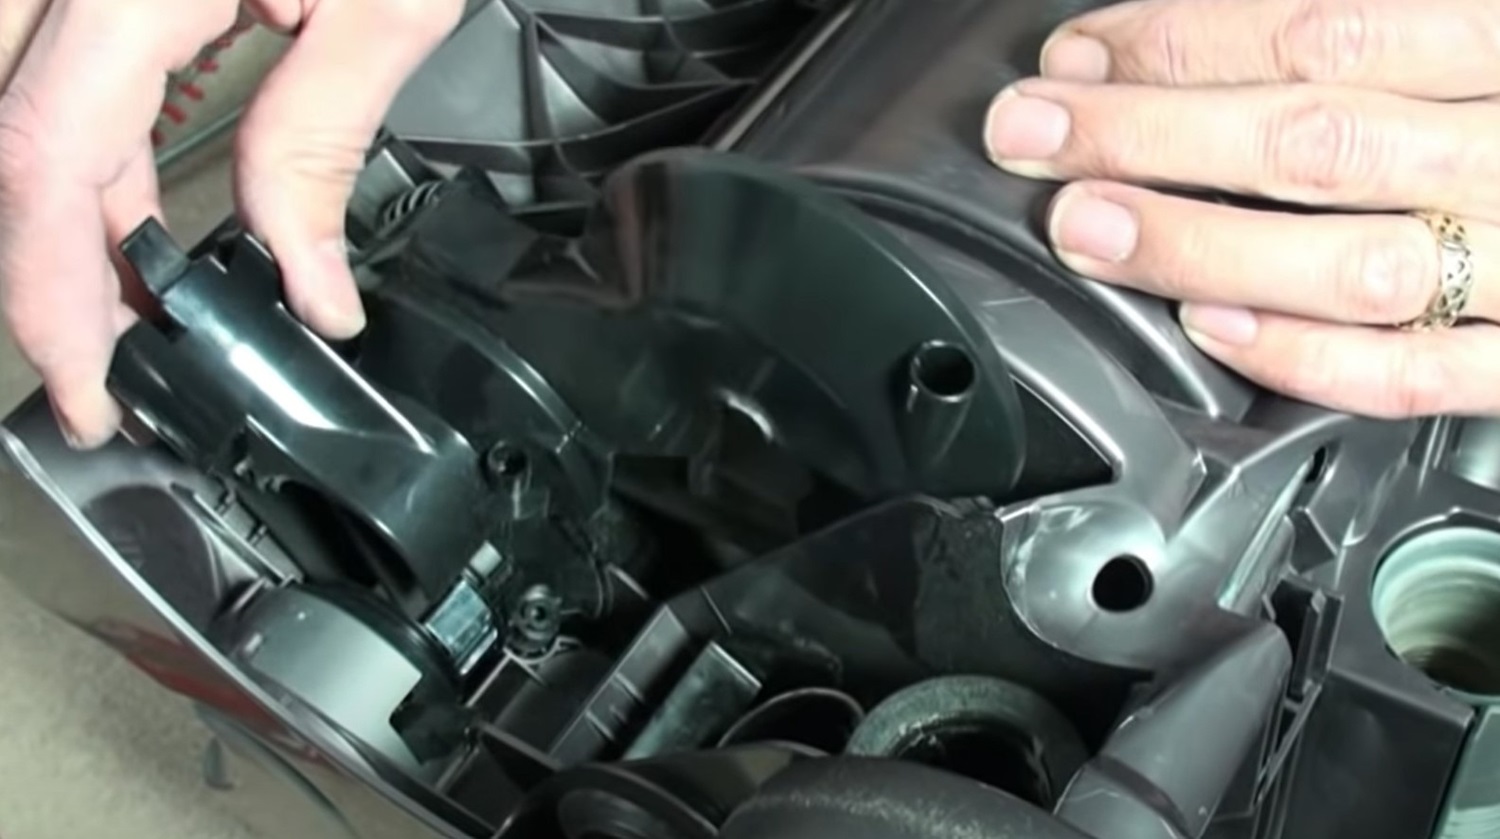
8. Remove the Pivot Head circlips
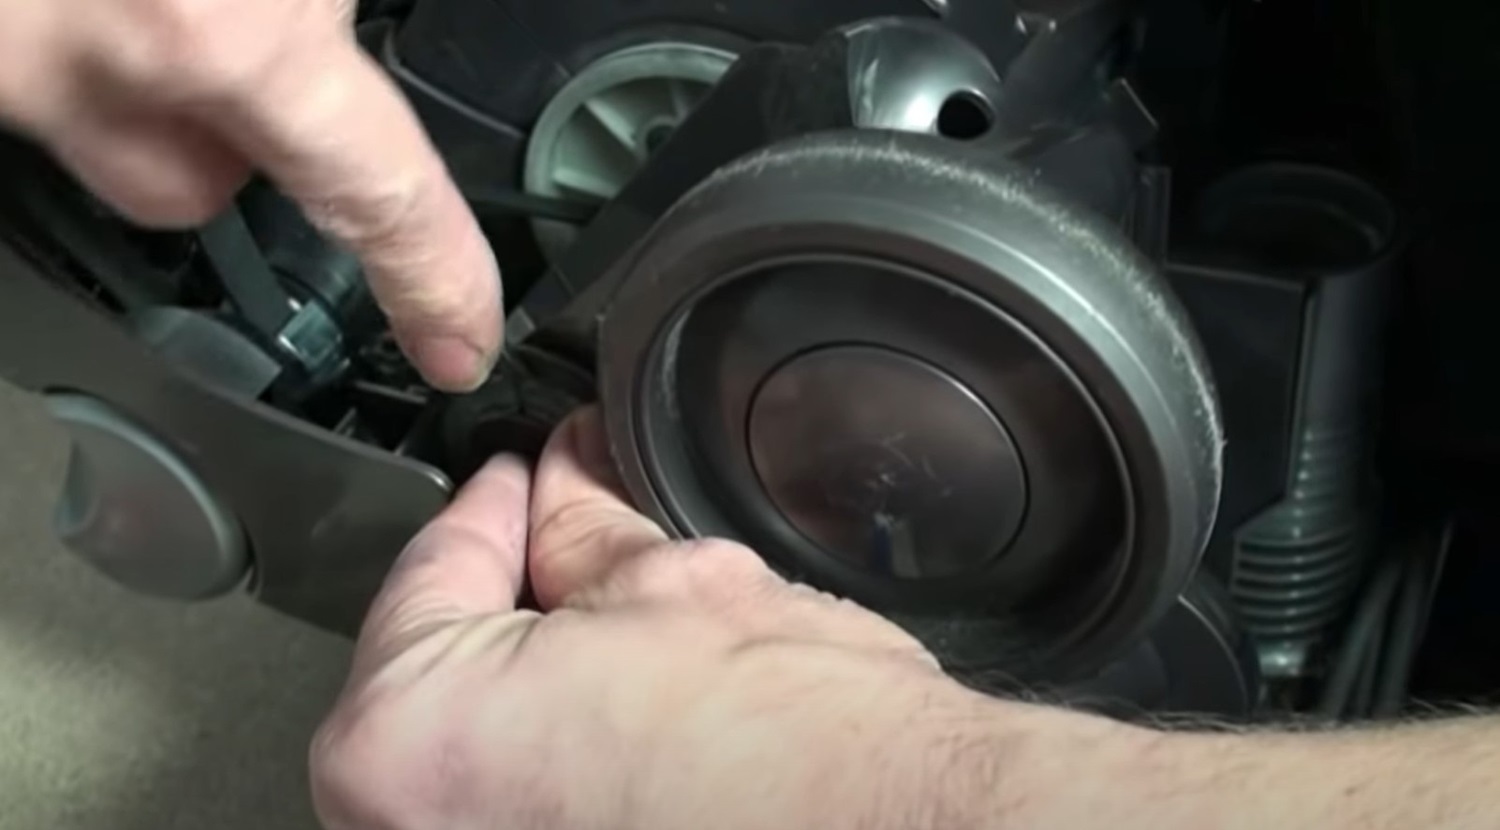
9. Remove the cleaner head assembly

10. Remove the valve pipe assembly
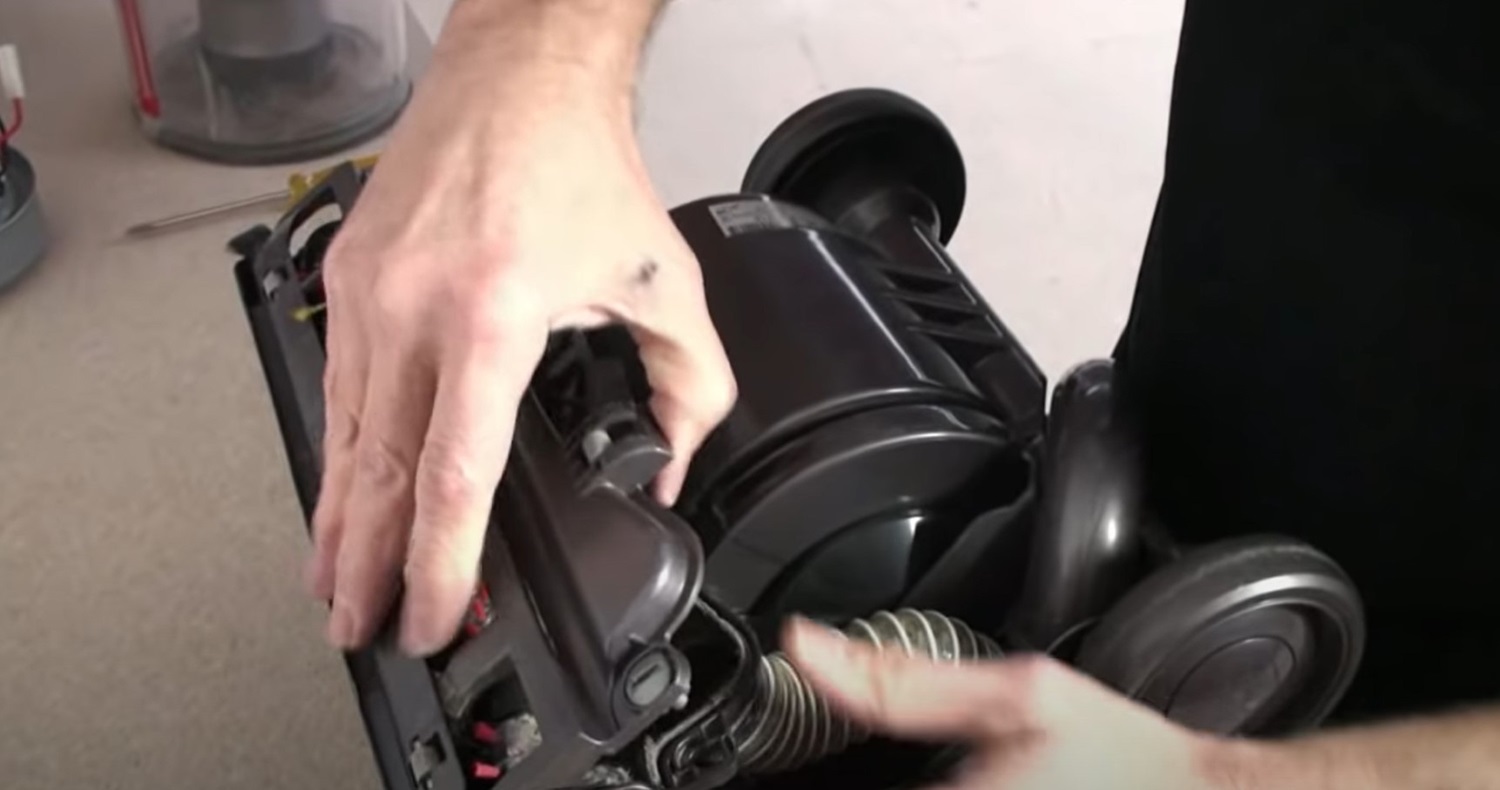
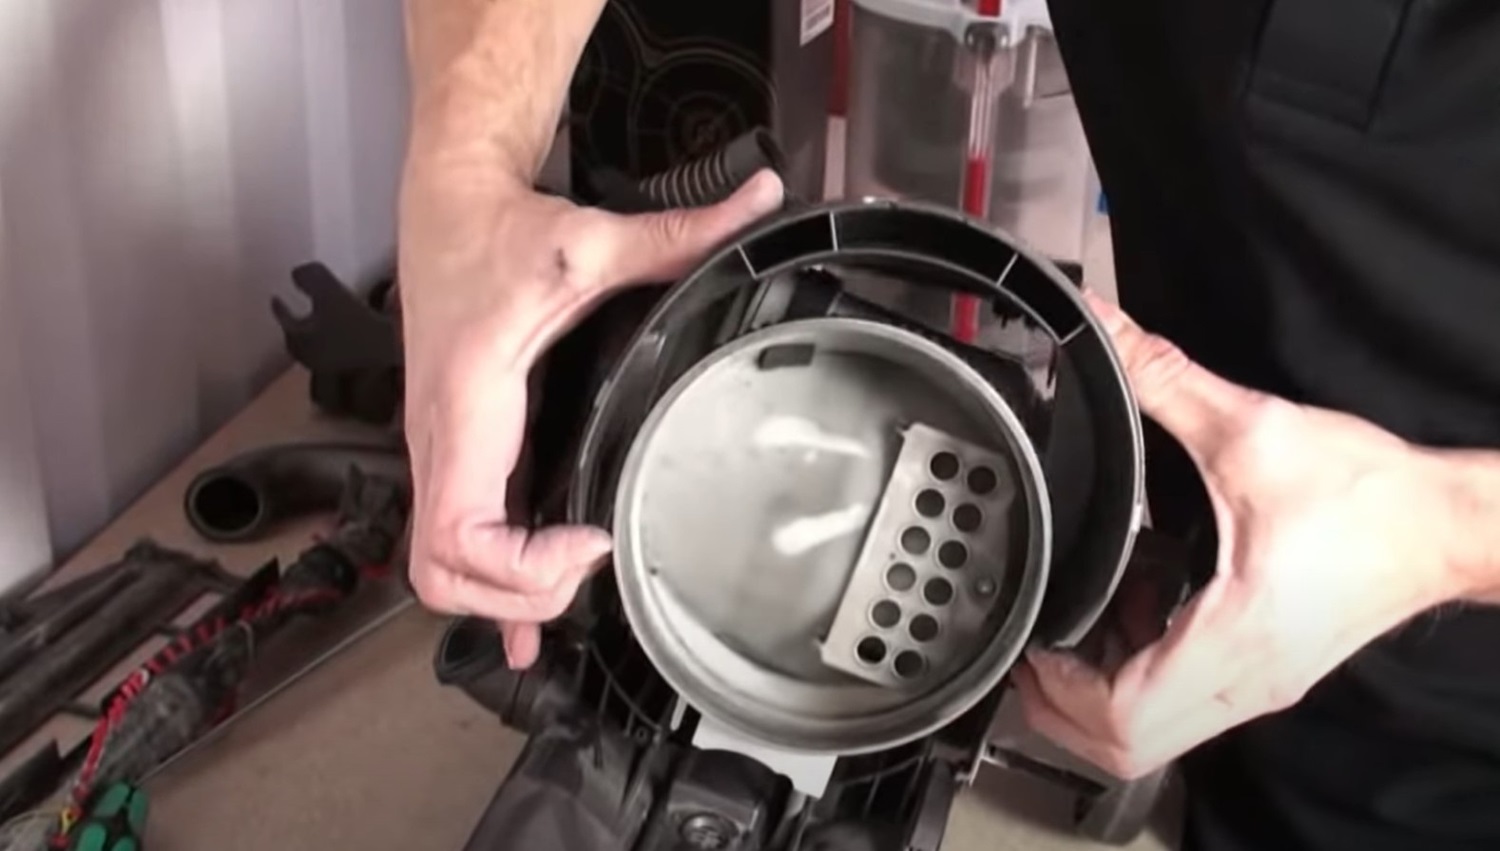
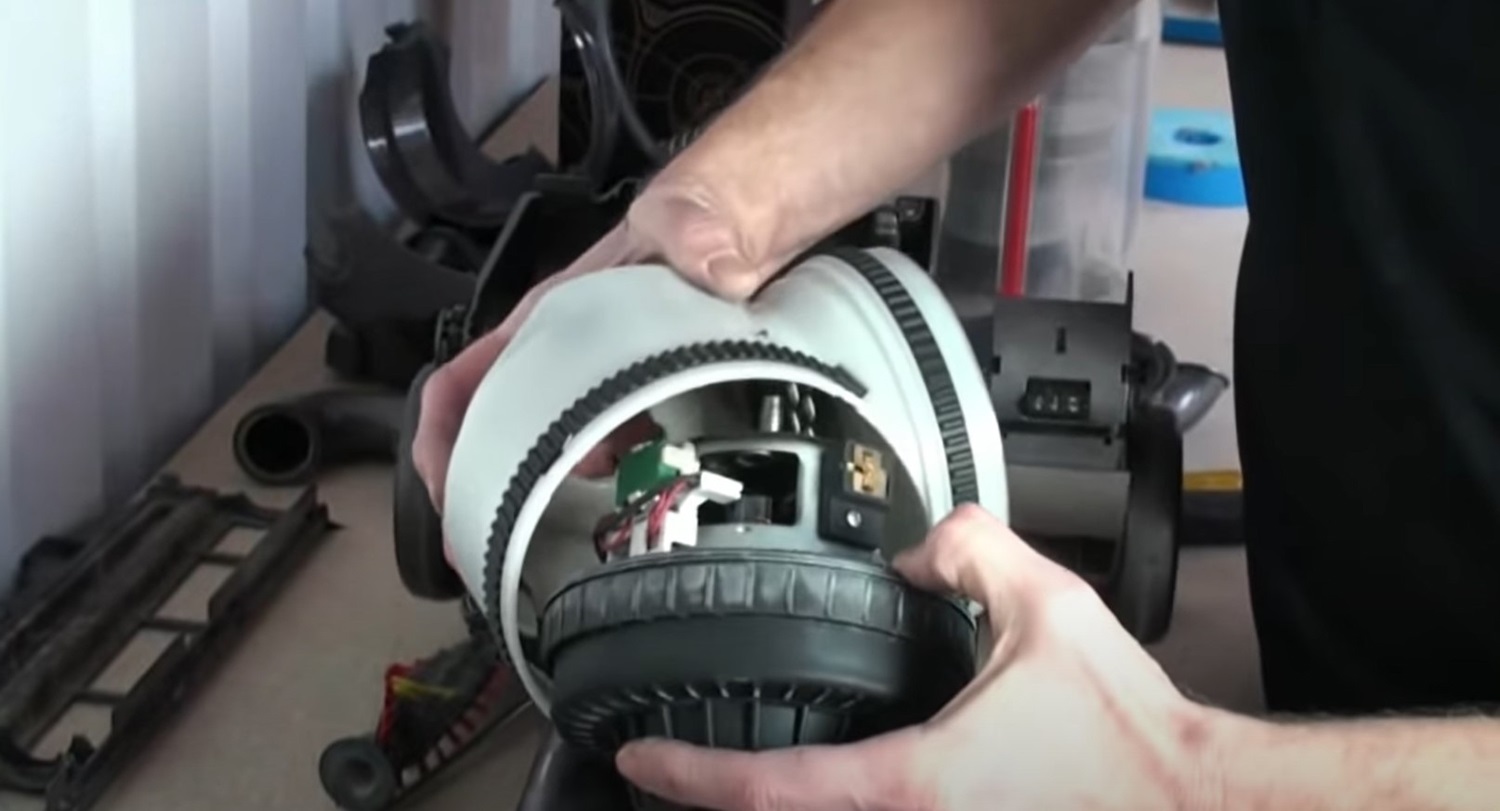
11. Remove the motor inlet cover
12. Remove the upper motor cover
13. Remove the motor retainer
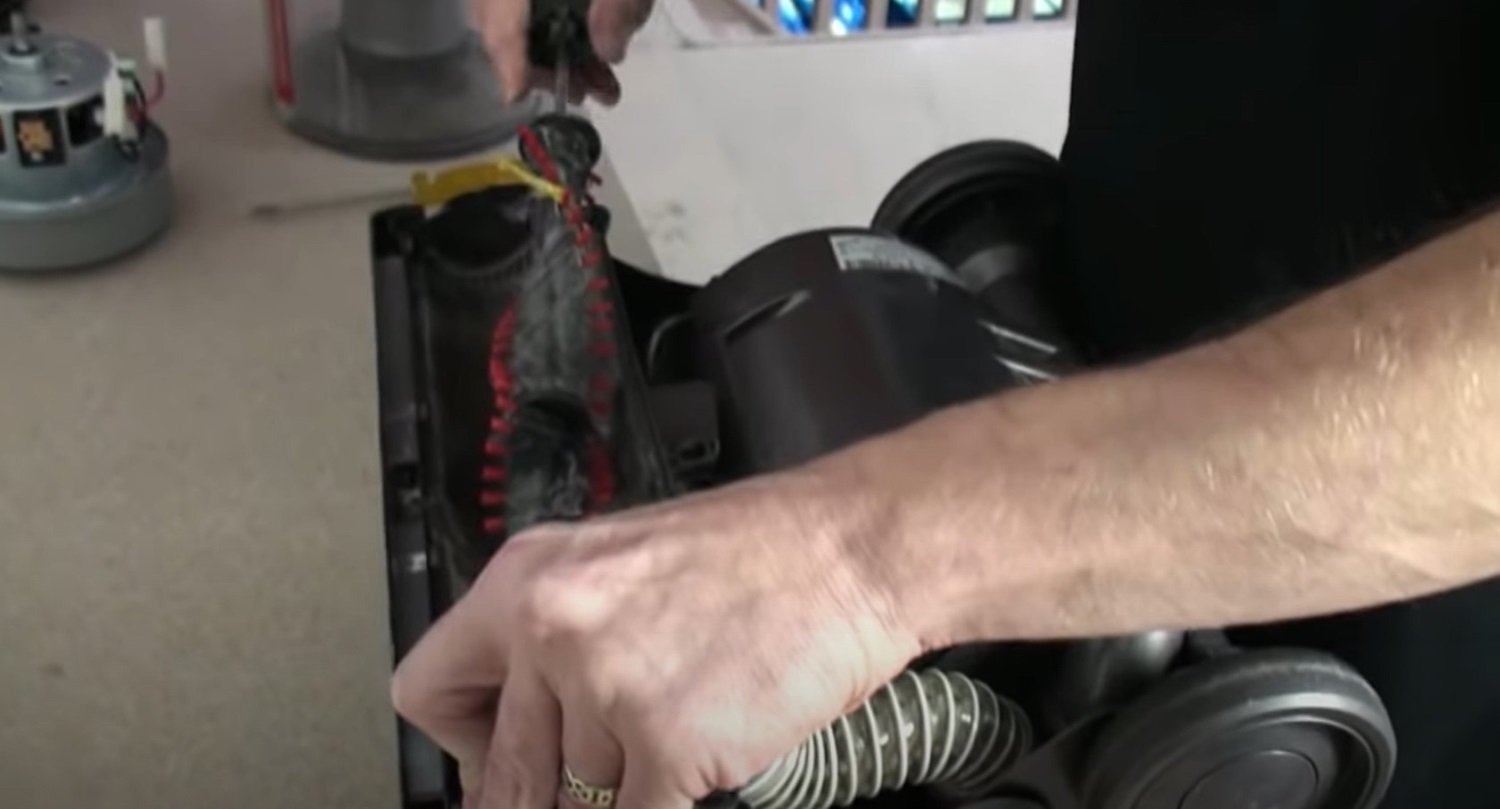
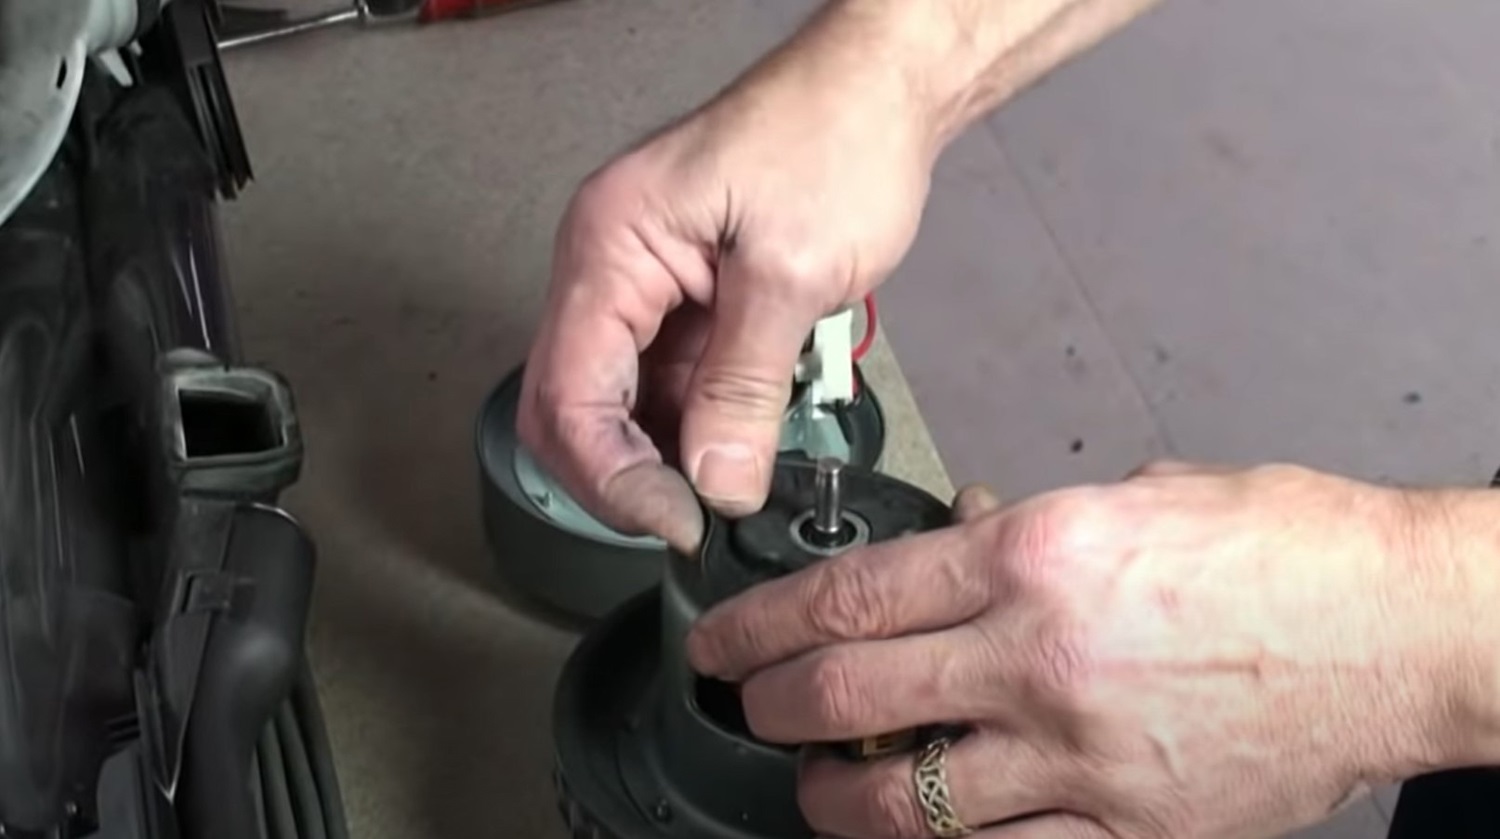
14. Remove the motor from the motor housing
15. Transfer motor bearing cover and fan case seal to new motor
Vacuum Cleaner Has A Burning Smell
 Lee Gilbert
  2nd Sep 2024 at 07:44
 0 Comments
If your vacuum cleaner smells like burning, there are a number of likely causes. These troubleshooting tips will help you to identify and fix the problem.
Immediately Turn off the Vacuum ... Read More
Vacuum Cleaner Isn't Sucking
Lee Gilbert 2nd Sep 2024 at 07:41
0 Comments
Finding that your vacuum cleaner isn’t sucking up dirt properly? It’s a common problem, but one that’s usually easy to fix. The following tips should help you to solve the issue.
... Read More
Why Does My Vacuum Cleaner Smell
Lee Gilbert 2nd Sep 2024 at 07:38
0 Comments
Is your vacuum cleaner smelling? The issue has a number of common causes and can usually be easily fixed. These trouble shooting tips should help you to identify and solve the problem.
Sm... Read More
Vacuum Cleaner Has Stopped Working
Lee Gilbert 2nd Sep 2024 at 07:34
0 Comments
A vacuum cleaner that won’t turn on or stay on is a common problem – but with a little expert advice, it’s often easy to fix. These trouble shooting tips should help you to get your... Read More
Henry Hoover Loss Of Suction
Lee Gilbert 29th Aug 2024 at 14:00
0 Comments
There are several reasons why your henry might not be sucking as well as normal and in this video I’ll be talking about how to resolve each one.
Henry’s Bag is full
as the bag f... Read More
